
Twenty-five percent (25%) of all sales from this website (after paying affiliates and PayPal fees) is donated to charity. Your purchase helps to support the following organizations: Community Food Bank of Southern Arizona, Primavera Foundation, Youth on Their Own, and Tucson Wildlife Center.
Since publishing the original luminosity masks tutorial in 2006, I have been deeply and personally aware of the creative impact they can have on each of us as photographic artists. Many people have written to tell me how helpful these methods have been (see user comments below) and to ask for help in learning these post-processing techniques. Over the years I have offered actions, tutorials, and luminosity mask plugins to make them easy to use. The latest offerings are below. Some are free and others are relatively inexpensive. I sincerely believe that luminosity masks and the skill to use them can make photographers more creative.
I've also partnered with Sean Bagshaw who has created several excellent video series to explain luminosity masks and related techniques. His videos can be purchased below as well. Other international partners include Dieter Damm from Germany, Antonio J. Prado in Spain, Rafael Coutinho in France, Roy Yuan in China, and Nico Ruffato in Italy. The buttons below provide access to my plugins along with teaching materials my partners have created in different languages. The plugins work equally well on Mac and Windows computers. After completing your purchase, the download link(s) will be sent to the email address you entered at the time of purchase.
![]() Español
Español
![]() Italiano
Italiano
![]() Deutsch
Deutsch
![]() Français
Français
![]() 中文
中文
| Quantity Discount Codes |
|---|
| Two items in cart (10% discount): SaveMe10 |
| Three items in cart (15% discount): SaveMe15 |
| Four items in cart (20% discount): SaveMe20 |
| Five or more items in cart (25% discount): SaveMe25 |
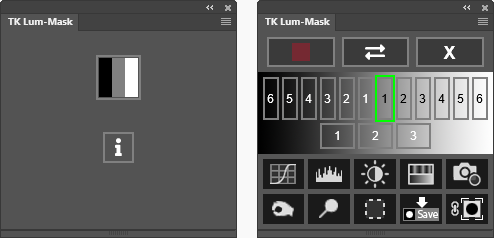
A free Photoshop plugin to quickly generate and deploy luminosity masks.
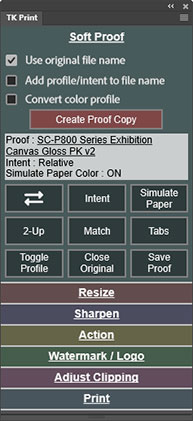

A free plugin that sets ten (10) levels for layer Opacity and Fill.

A free plugin that uses the Brush and Eraser tools to generate and edit selections.

A free plugin that assists in downloading and using free images from Adobe Stock.
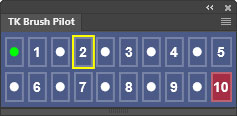
A free plugin to navigate changing opacity, flow, and hardness of Photoshop's Paintbrush tool from a single, clickable platform.
 12 gradients that can be imported into Photoshop and then accessed with the Gradient tool. Makes using common gradients more intuitive and efficient. Learn more in this video.
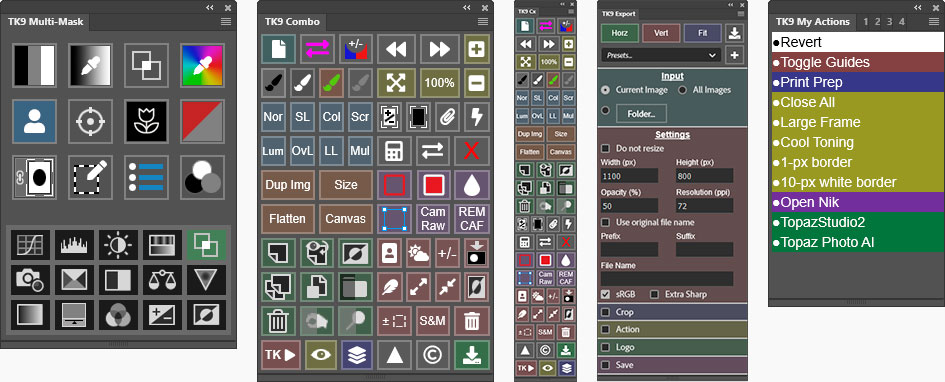
The TK9 version 3 plugin for Photoshop is the ultimate tool for enhancing creativity and control in Photoshop. Learn more.

NOTE: This course is English-only. It is NOT translated into other languages.

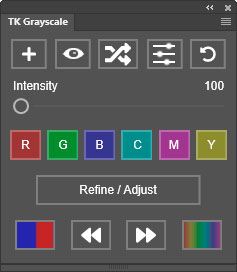
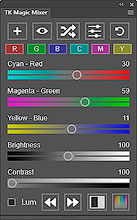
NOTE: These two plugin's are not translated (English-only).
These two plugins offer new ways to interact with Photoshop to convert color images to black and white. TK Grayscale works via a Black and White adjustment layer and TK Magic Mixer works through a Channel Mixer adjustment layer. Both plugins allow for quickly manipulating and testing different settings that would be nearly impossible to replicate by manually adjusting the Properties panel.
Features common to both plugins include:
TK Grayscale also contains an Intensity slider. Its purpose is to make it easy to influence tonal contrast in the black and white image by exploiting color differences in the color image.
To learn more about the TK Grayscale plugin and how it works, please visit this page.
The TK Magic Mixer plugin is a more logical and more efficient way to interact with Photoshop's Channel Mixer adjustment layer when using its "Monochrome" option. It allows for mixing the Red, Green, and Blue channels while keeping image brightness constant. This makes it possible to experiment more freely with different channel combinations without having to deal with varying brightness at the same time, as is the case when interacting with the Photoshop Channel Mixer using the Properties panel.
To get a more comprehensive overview of the TK Magic Mixer and to watch a video on how to use it, please visit this page.
If you are looking for new ways to interpret your images, especially in black and white, the Magic Mixer and Grayscale plugins offer some exciting possibilities. Both plugins are included for one low price!
NOTE: Photoshop 2023 version 24.7.0 or later is needed to use these plugins.
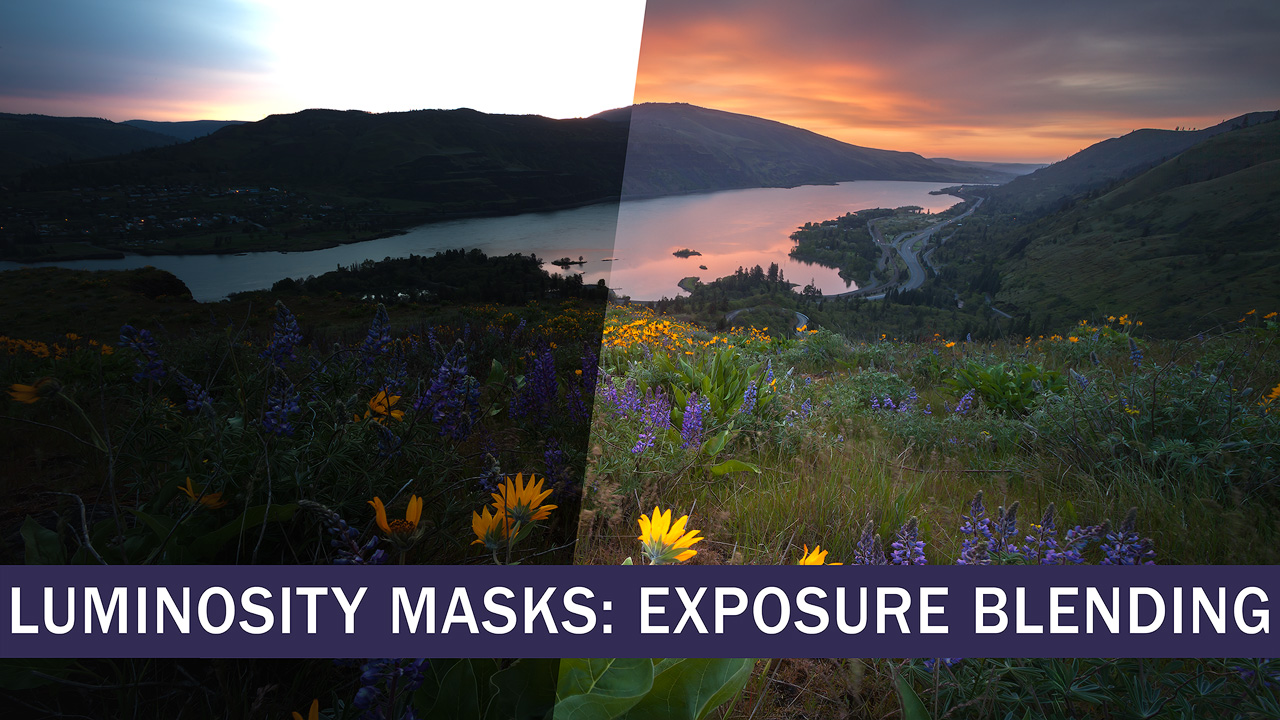
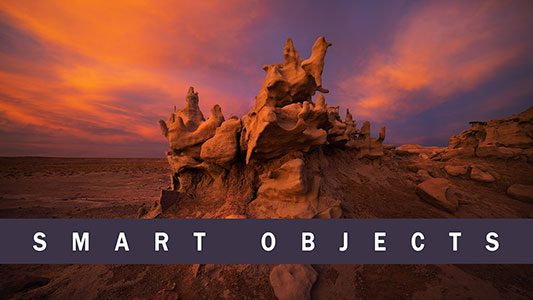
Sean Bagshaw has been perfecting his exposure blending skills for over two decades. He has practiced and pioneered new ways to create dramatic images by combining light from different exposures. Sometimes this can be achieved using simple techniques, but other times it requires a more involved workflow to pull light from different parts of the scene.
While this course covers basic blending using gradients and Lightroom masks, its main focus is on a refined method for combining exposures in Photoshop using smart objects and luminosity masks. It's a universal approach that can be applied to a wide variety of lighting situations and produces outstanding results even with extremely harsh light.
The course is well organized. Starting with simple blends, Sean walks users through the basic steps needed to achieve consistent results, and then applies these techniques to increasingly complicated scenes and complex lighting situations. By the end of the course, viewers can clearly understand Sean's approach and will be excited and competent to tackle high-contrast light on their own. Watch Chapter 3.
NOTE: This course is English-only. It is NOT translated into other languages.
Luminosity Masks: EXPOSURE BLENDING
$25 - ADD TO CART
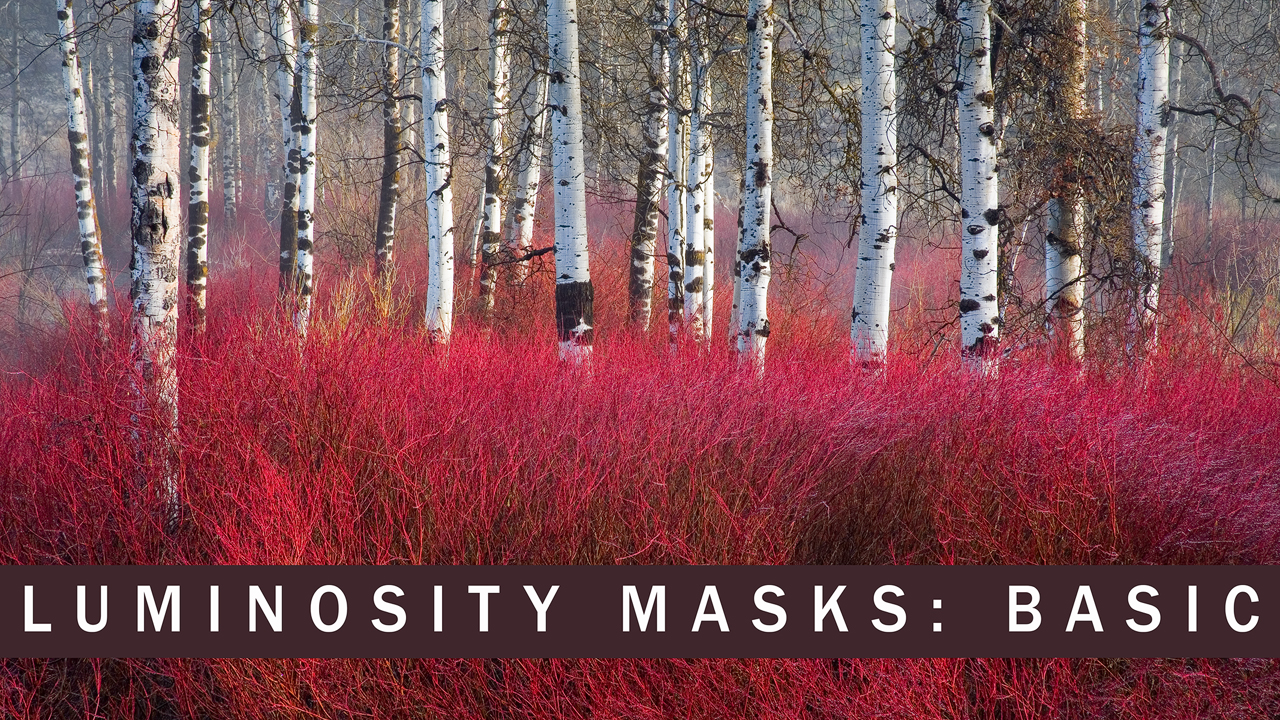
Sean Bagshaw was an early-adopter of luminosity masks. He started using them and teaching others how to use them soon after the original tutorial was published. Nearly two decades later, they continue to be an important and widely-used technique for creatively processing images in Photoshop.
Thankfully, the days of manually building luminosity masks or recording actions to make them are gone. There are now plugins, like TK9, that do all the heavy lifting. However, the fundamental approach for using these masks hasn't changed. Applying them as layer masks, painting through luminosity selections, and combining them with other Photoshop techniques are still the best ways to get the most out of these powerful masks.
In this new series, Sean takes a look at the essential concepts that have made luminosity masks an enduring part of post-processing. From understanding exactly what they are and how they work to numerous examples of actually using them, this course is an organized curriculum for both the theory and application necessary to successfully incorporate luminosity masks into the Photoshop workflow. Watch chapter previews.
NOTE: This course is English-only. It is NOT translated into other languages.
Luminosity Masks: BASIC
$25 - ADD TO CART
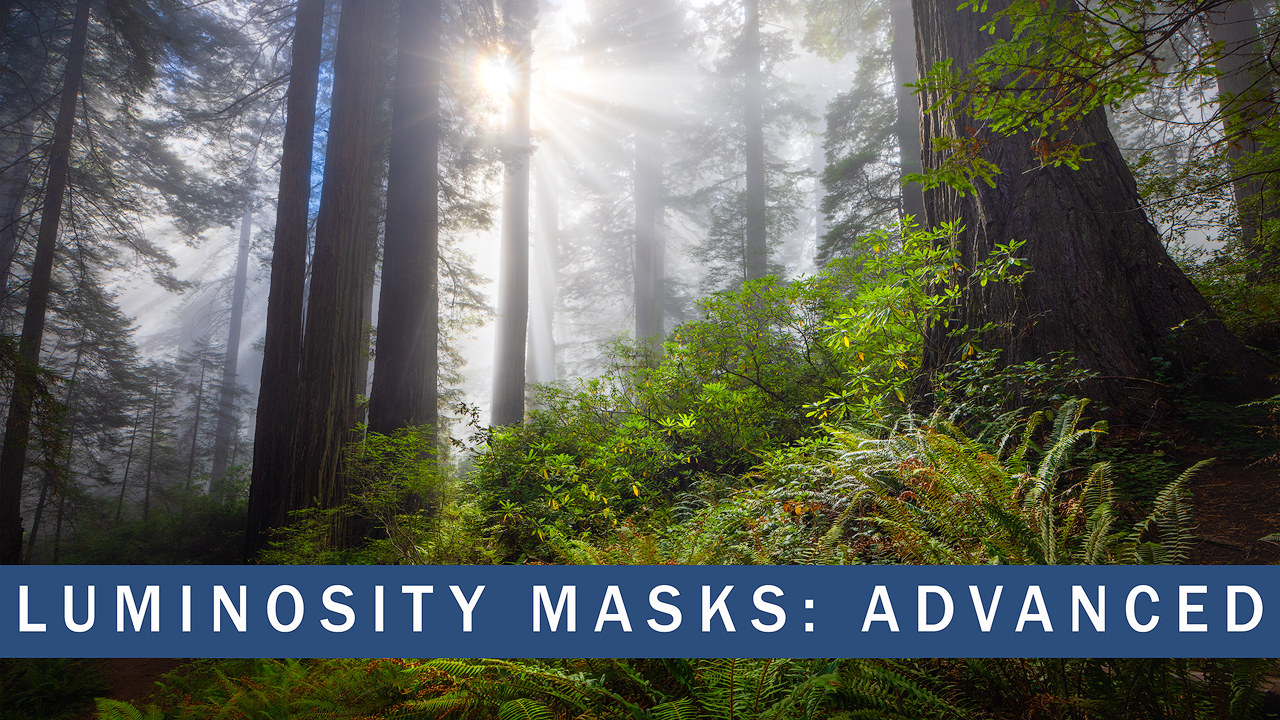
Learning the fundamentals of working with luminosity masks is just the beginning. The fun really begins when you start to consider the different ways they can be incorporated into the processing workflow. Whether it's by using luminosity masks directly as layer masks, combining them with other masks, or painting through luminosity mask selections, there is an endless number of beneficial uses for luminosity masks.
In this course on advanced ways to use luminosity masks, Sean Bagshaw demonstrates the ability and flexibility of these masks to adapt to many different workflow scenarios. The key is understanding that luminosity masks can blend layers and adjustments in a seamless manner with no edges or halos. Even highly modified masks still provide natural-looking adjustments.
This "Advanced" course takes standard methods for using luminosity masks and applies them in novel and sometimes unexpected ways. Blending smart objects, dodging with color, easily calculating new masks, and incorporating blur are some of the techniques discussed. As the course progresses, the power of luminosity masks to precisely control light in the image becomes abundantly clear. By seeing what's possible, photographers are encourarged to explore new ways to add luminosity masks to their creativity toolkit. Watch chapter previews.
NOTE: This course is English-only. It is NOT translated into other languages.
Luminosity Masks: ADVANCED
$25 - ADD TO CART
NOTE: This course is English-only. It is NOT translated into other languages.
Complete Workflow: Iceland Highlands
$49 - ADD TO CART
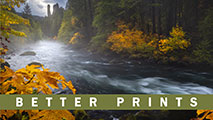
Sean Bagshaw and Zack Schnepf have teamed up to create a comprehensive course focused on printing digital images. Whether you print using an at-home printer or send your image files to a commercial lab for printing, this series covers all the steps in the process from calibrating the computer monitor through considerations regarding print display. Printing from both Lightroom and Photoshop are covered in detail. This course is a video version of the live workshop Sean and Zack developed to help photographers make better prints. It's an excellent introduction to digital print-making for those new to the process and has valuable tips for all photographers looking to improve their print-making skills and produce higher quality prints. Watch excerpts.
NOTE: This course is English-only. It is NOT translated into other languages.
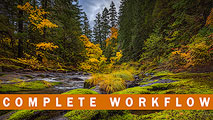
Sean Bagshaw's new Umpqua Autumn video series provides a comprehensive walk-through of the creative process. It starts with a discussion of composition and light by reviewing several images from his trip into field and ends by adding the final touches that make the image as complete and elegant as possible. In between there's an inclusive look at the techniques, decision-making, and step-by-step progression required to bring out the best light in the scene. Lightroom Classic, Adobe Photoshop, and the TK8 plugin are the main tools, but it's Sean's mastery in using these tools that create the real magic. This series is filled with new techniques he has not previously demonstrated, and his ability to share his knowledge with others makes them understandable and accessible. The course will provide viewers several new techniques to add to their photographic workflow and new ideas to stimulate their personal creativity. Watch samples.
NOTE: This course is English-only. It is NOT translated into other languages.
NOTE: This course is English-only. It is NOT translated into other languages.
With nearly 20 years experience, Sean Bagshaw has collected a wealth of knowledge about photography. His artistic approach to image development makes use of many specialized techniques that infuse his pictures with light, color, and drama. In this newest video series, he takes you step by step through some of his favorite methods for creating the best light using Photoshop. The ultimate goal is to help you discover your own personal interpretation of the light and to find new ways to bring balance, creativity, and excitement to your photographs. Watch samples.
NOTE: This course is English-only. It is NOT translated into other languages.
Sean Bagshaw's second "Favorite Techniques" series is again wide-ranging. Blending exposures is common with landscape photography, but doing it well requires choosing and properly utilizing the best method. There's an art to getting a good transition, and Sean shares his skills with different approaches. This series also takes a close look at unexpected challenges that sometimes occur in post-processing. Problem-fixing is the focus of several chapters, and, along with the artistic chapters, will insure you're well prepared to bring the best light to your photographs. Watch samples.
NOTE: This course is English-only. It is NOT translated into other languages.
NOTE: This course is English-only. It is NOT translated into other languages.
Adobe and Photoshop are either registered trademarks or trademarks of Adobe in the United States and/or other countries.